Bridging to Telos EVM
How To Move Assets With The Telos Bridge, Powered By LayerZero
Step 1
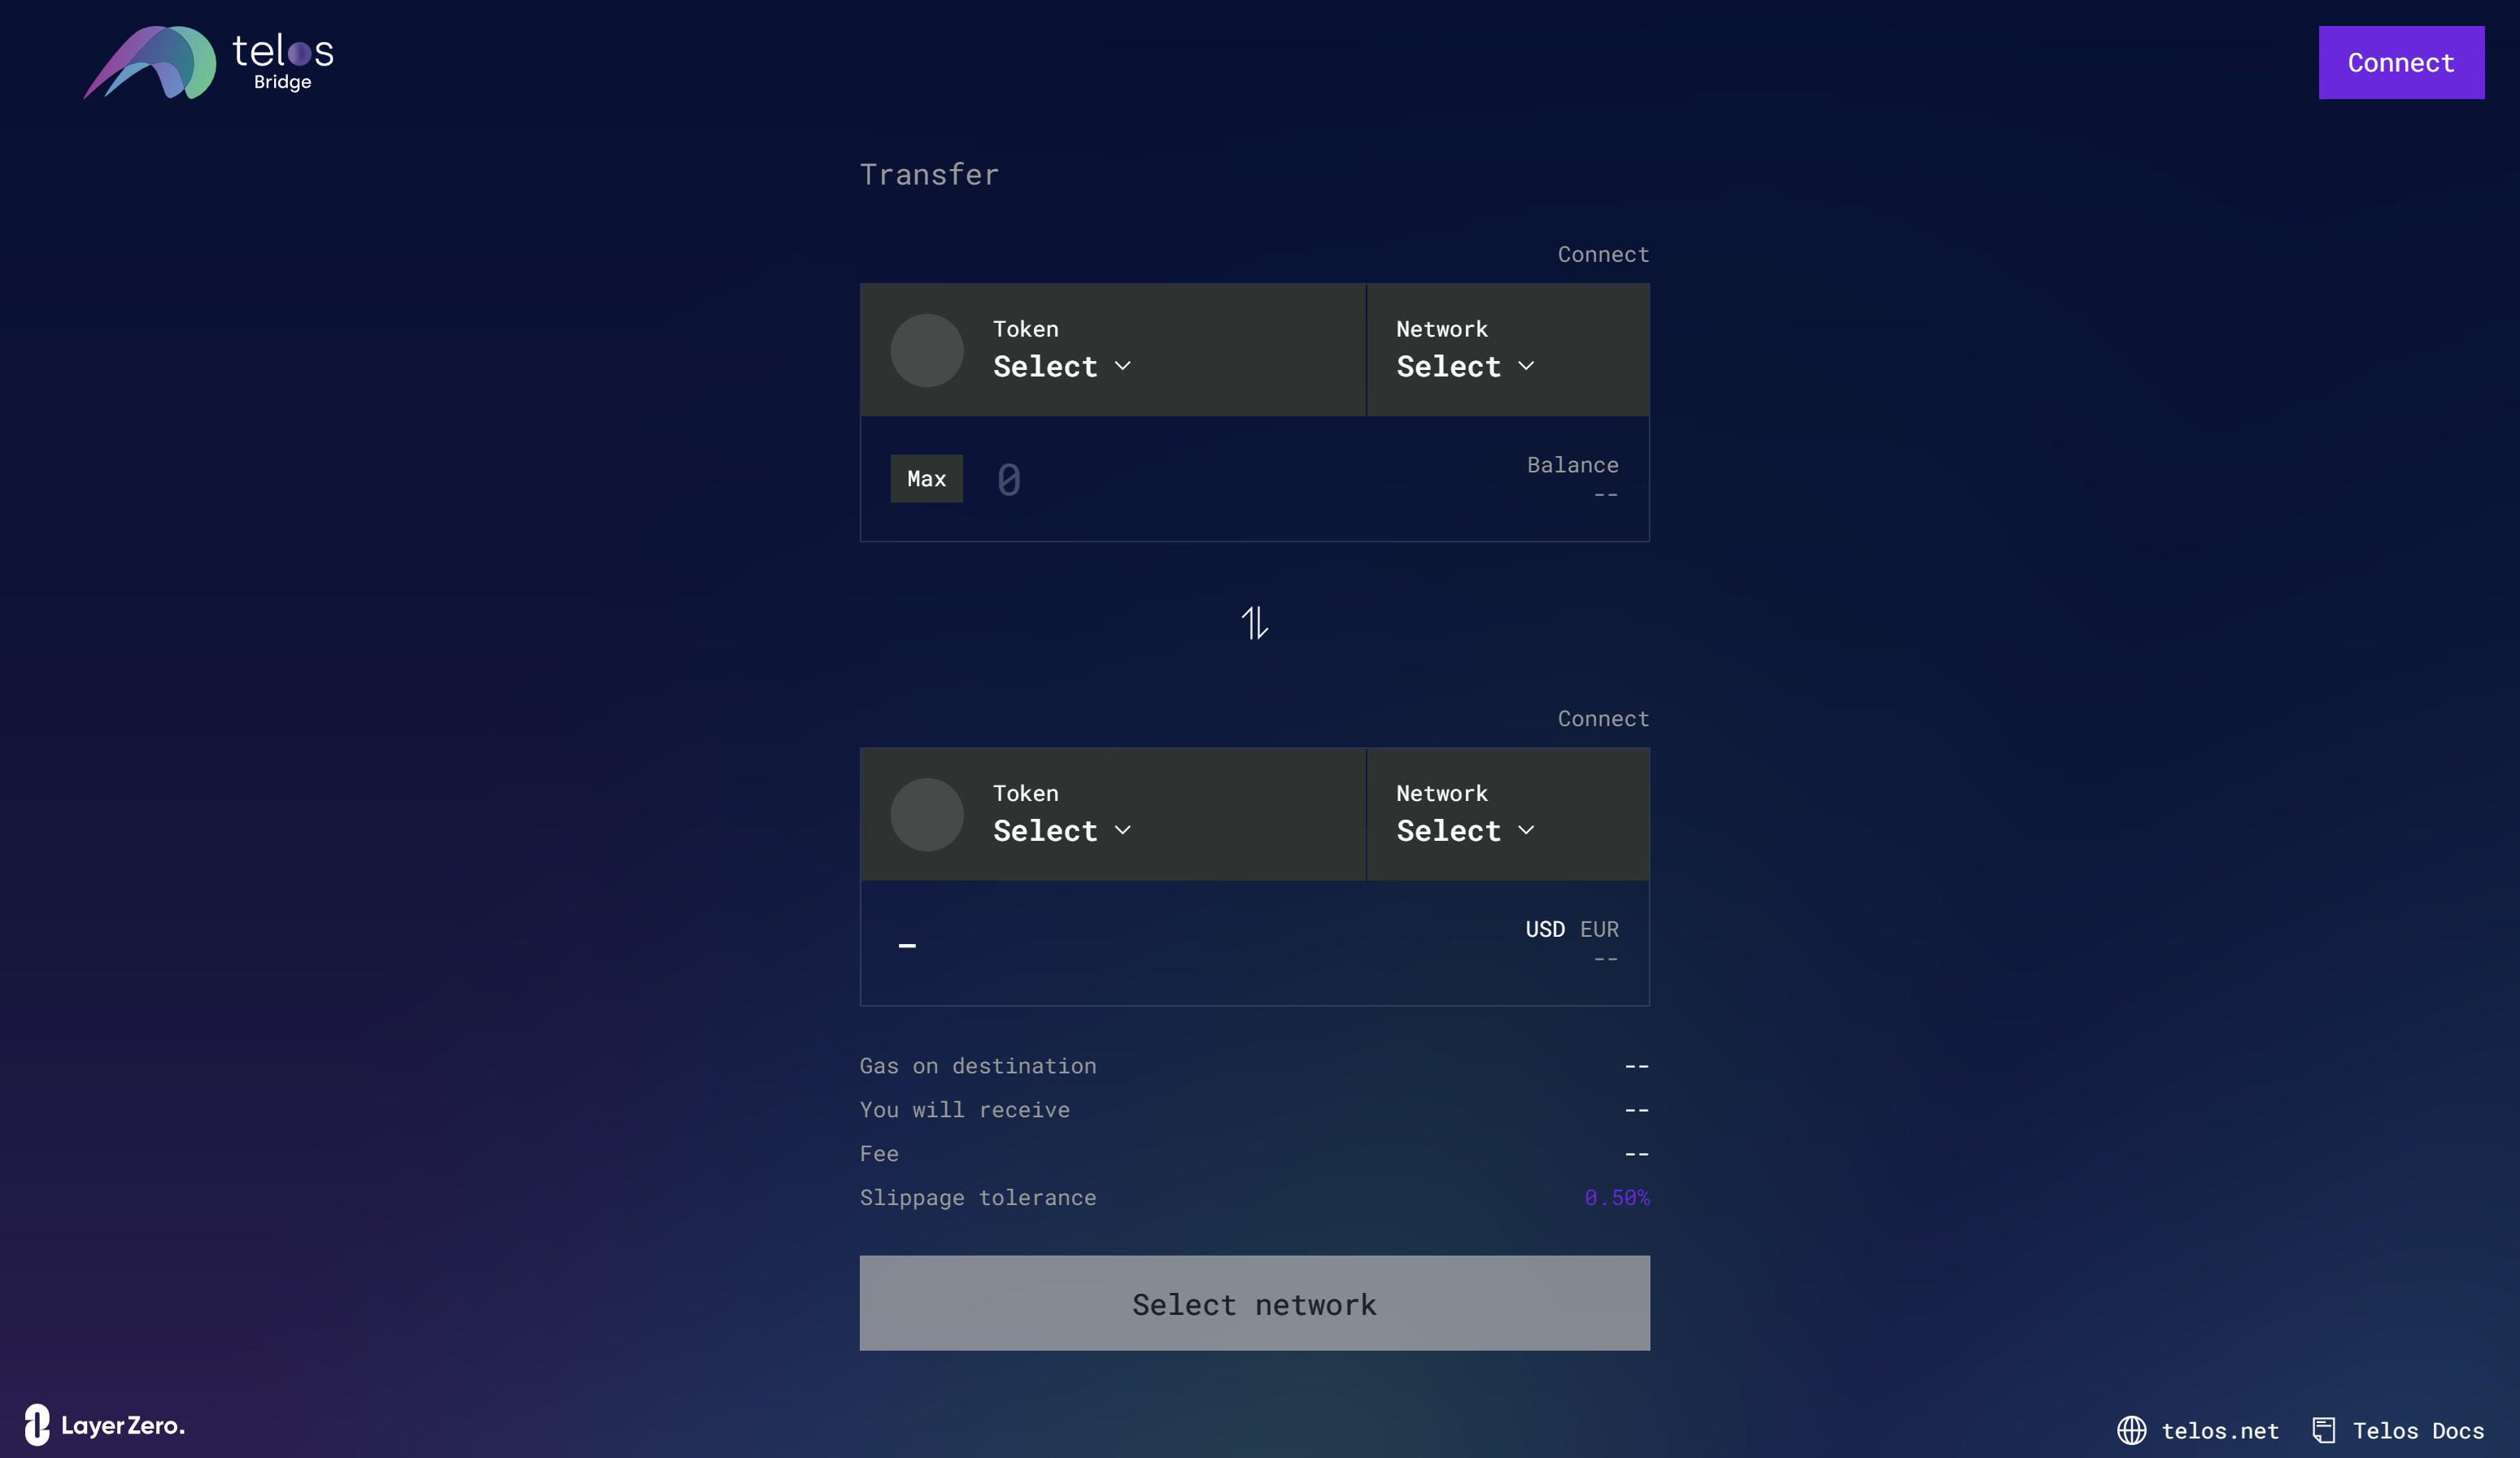
Head to the Telos Bridge and press connect at the top right.
Step 2
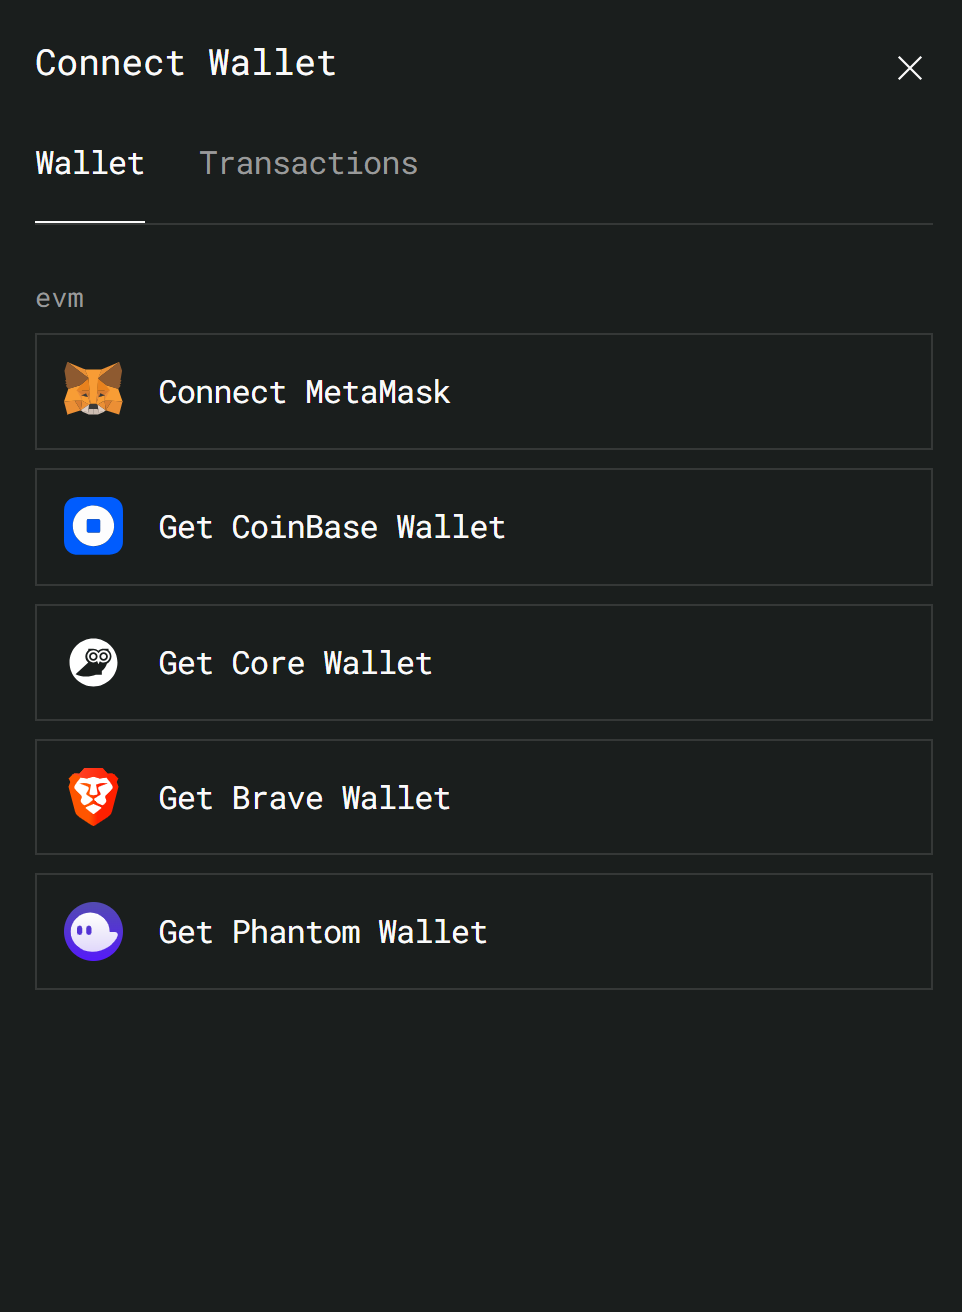
Select MetaMask from the list of wallets and connect your wallet.
Step 3
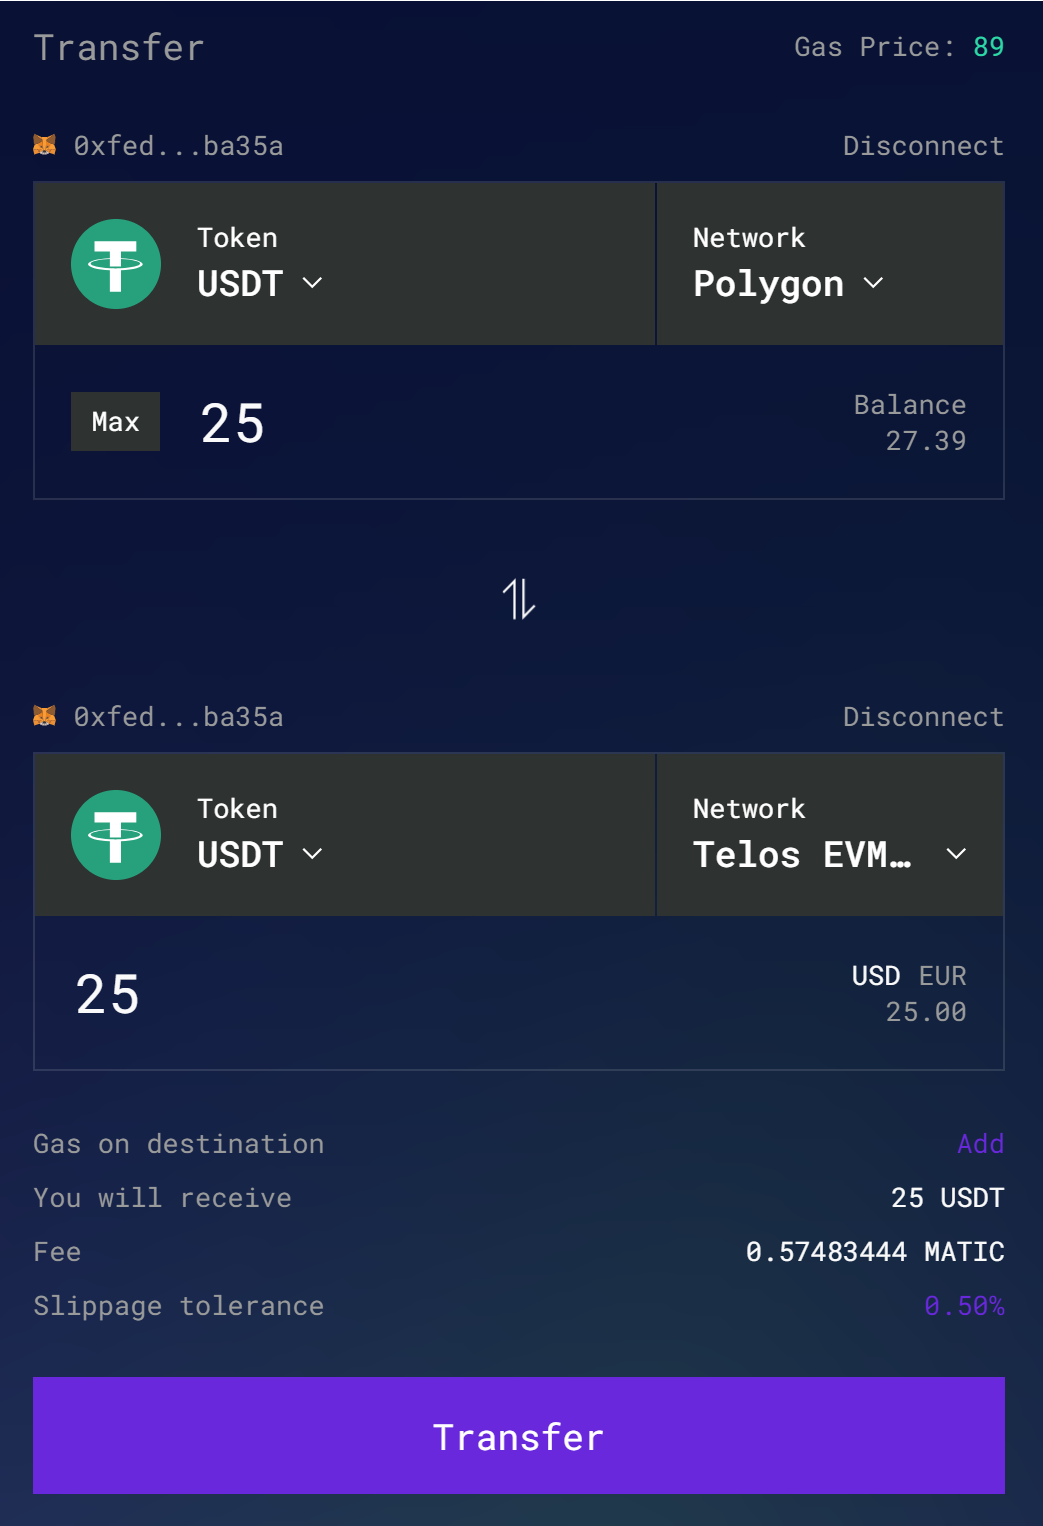
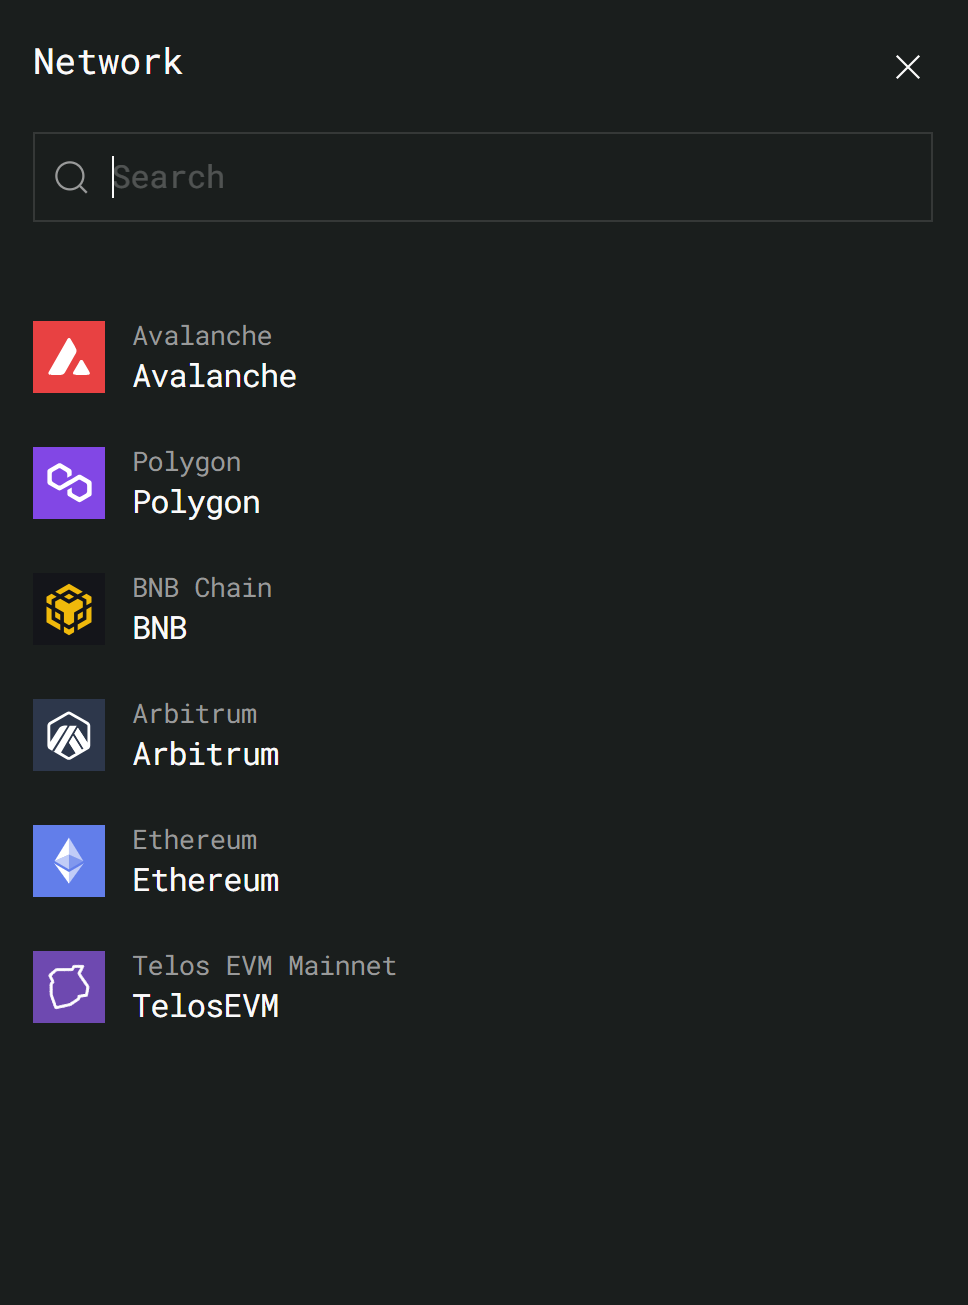
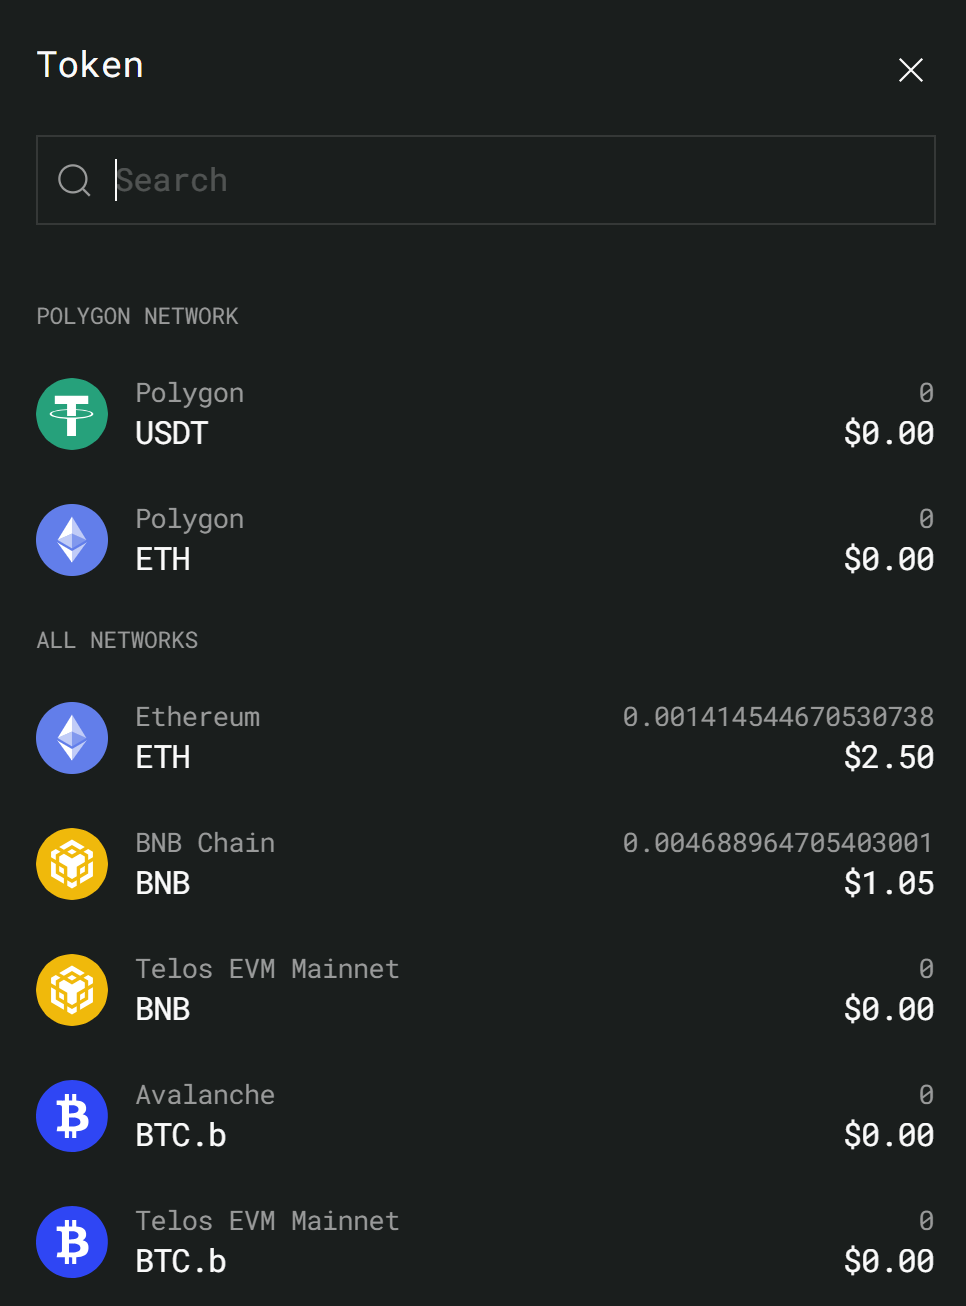
Select the network you're bridging from and the asset you want to bridge. In this case, we are bridging USDT from Polygon. Next, be sure to choose Telos EVM as the destination.
Step 4
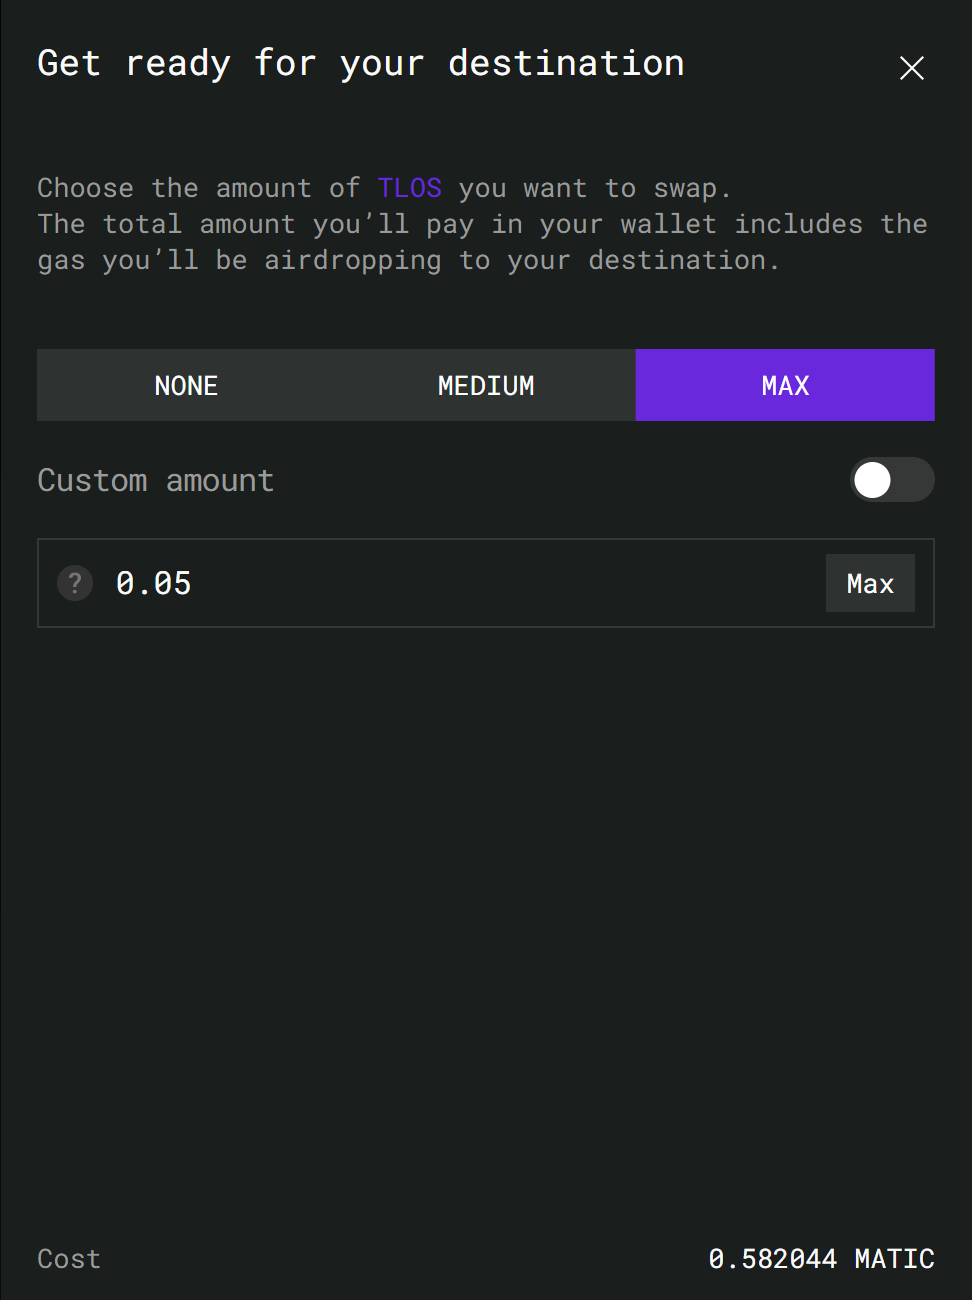
Next, add gas on the destination chain if needed.
If it is your first time bridging to Telos, be sure to select the 'Gas on destination' option, you will receive .05 tlos for free for gas fees.
Step 5
From there, you can bridge your assets! You may be asked to switch networks in MetaMask to match the chain you are bridging from if you have not already switched.
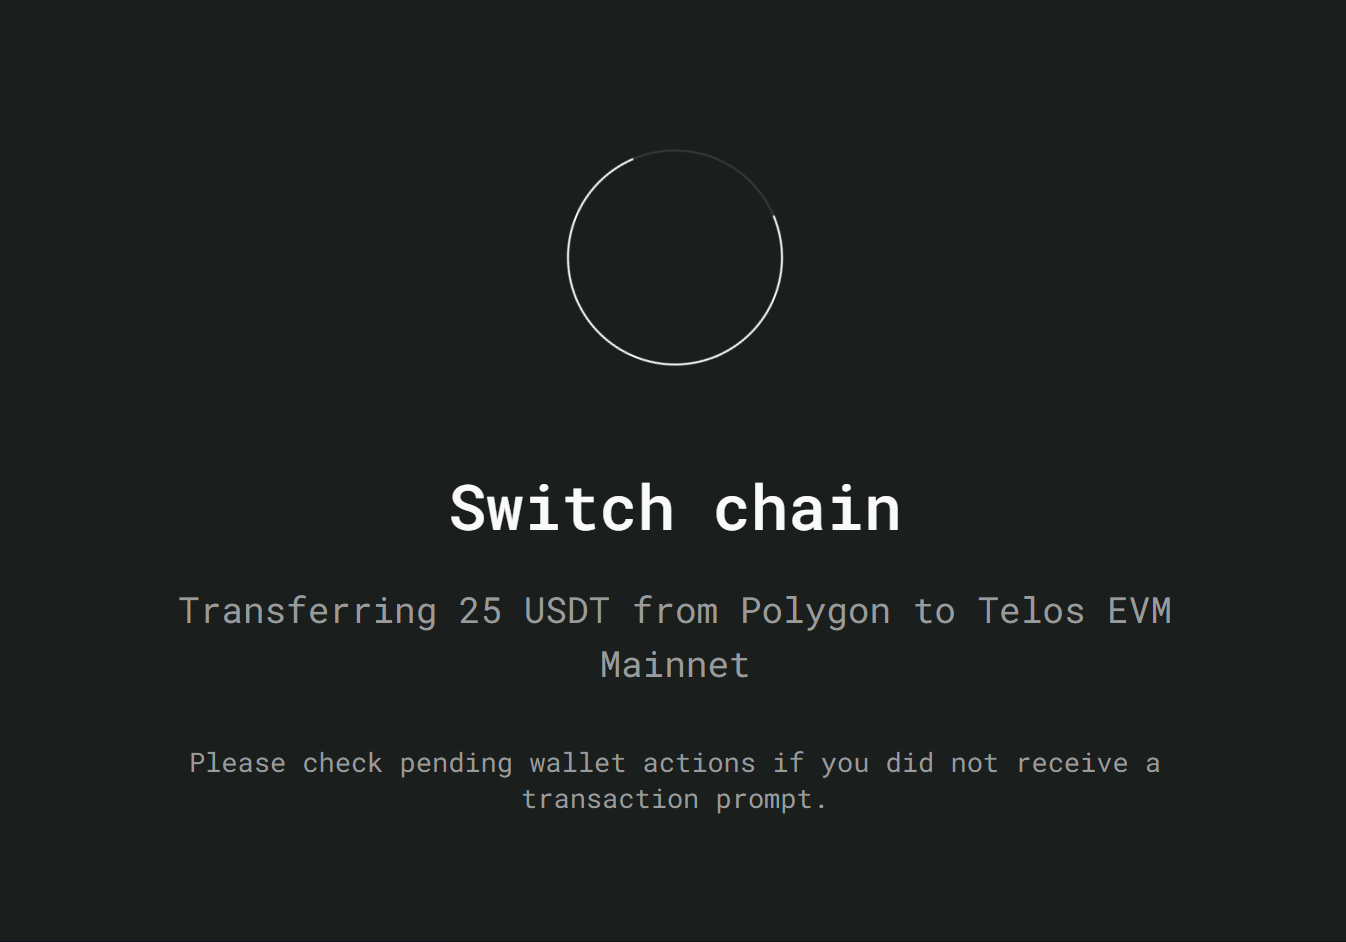
Congrats, your assets are being bridged and will show up in your Telos EVM wallet soon!
Your assets will be transferred to the same EVM address that you bridged from. So if you have multiple accounts on MetaMask, just be aware of which one you want your assets to be on.
How to bridge your TLOS ERC20/BEP20 tokens to Telos EVM using pNetwork
Follow the step-by-step guide below to bridge from Ethereum or Binance Smart Chain to Telos using pNetwork!
The instructions are specifically for ERC20 TLOS on Ethereum, but the steps for Binance are nearly identical, just choose the BSC options instead of the ETH ones.
Step 1
Head to the pTokens DApp Swap Page and connect your wallet
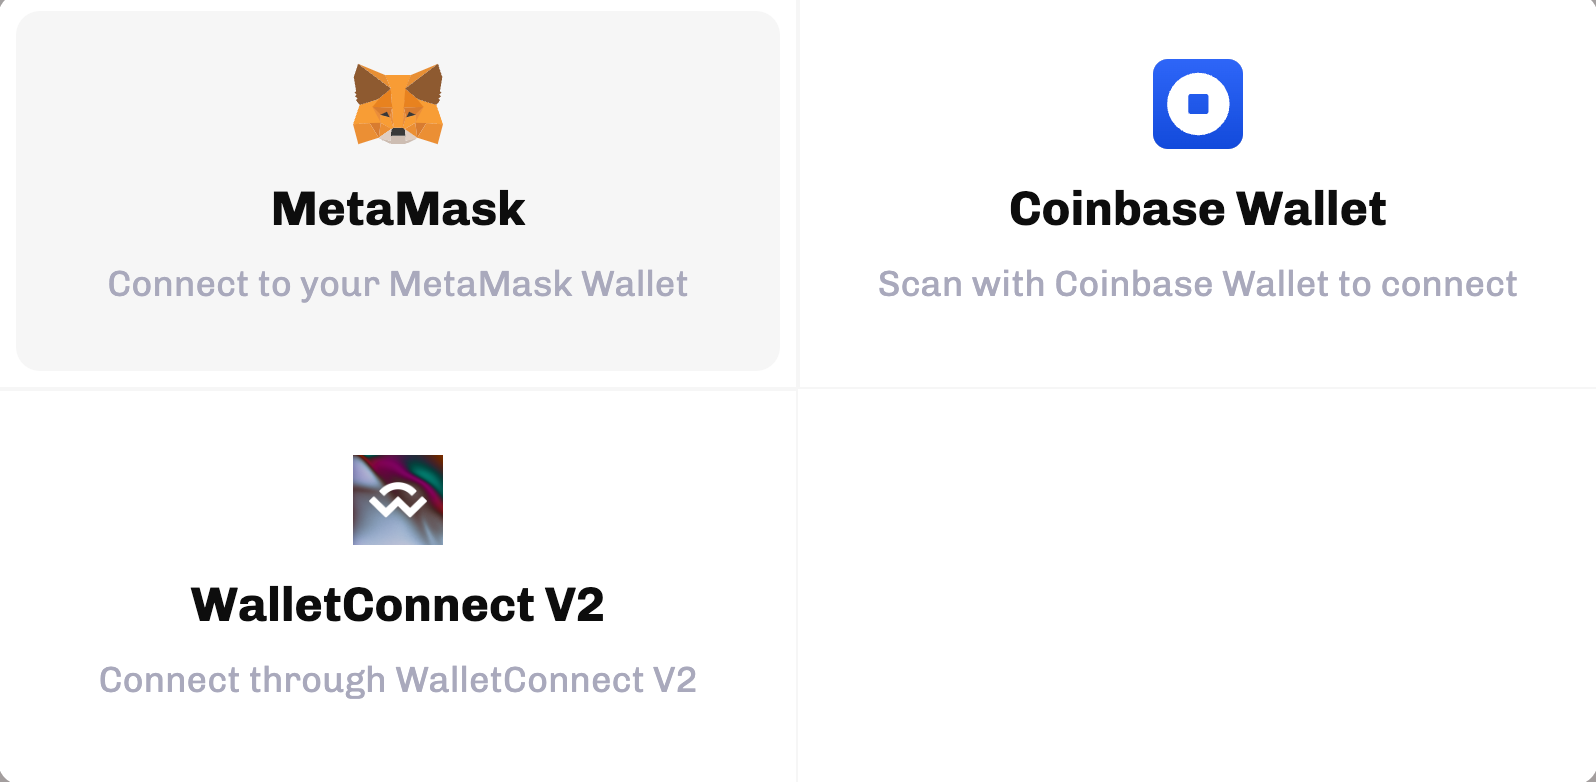
Choose Ethereum, then connect your wallet with Metamask
Step 2
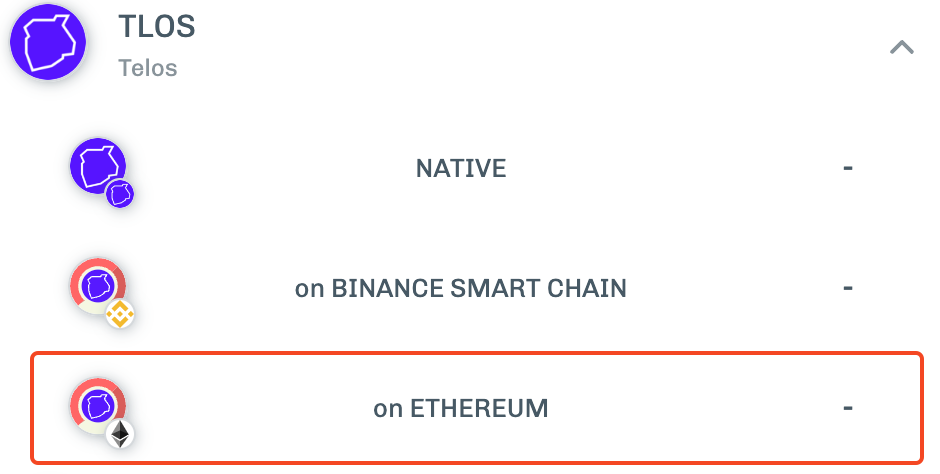
In the “From” swap section, select TLOS on ETHEREUM.
Step 3
In the “To” swap section, select TLOS on NATIVE.

Step 4
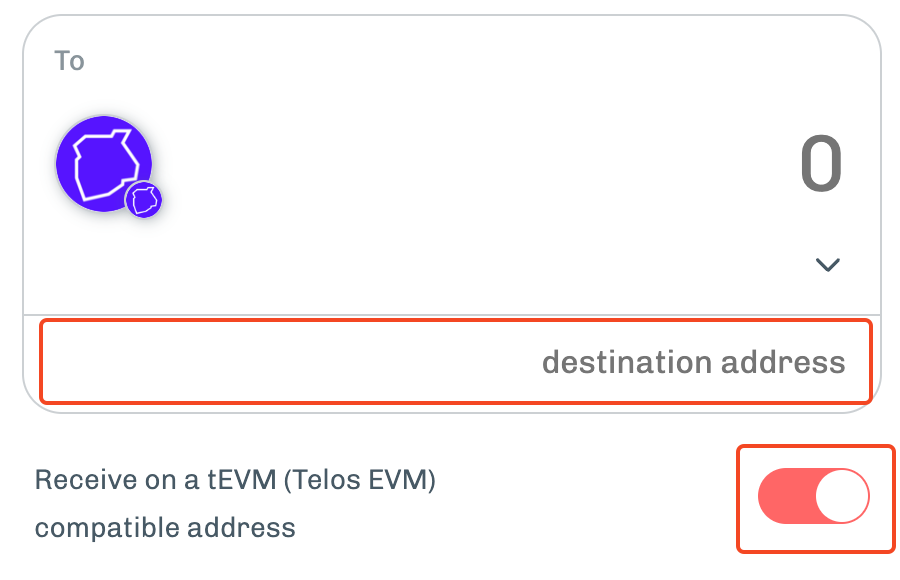
Enter a Telos EVM destination address and make sure “Recieve on a tEVM (Telos EVM) compatible address” is enabled. Enter the amount you would like to swap and complete the transaction.
If you want to bridge to Telos Zero insead of Telos EVM, toggle off thr "Receive on a tEVM (Telos EVM) compatible address"
